
In the realm of bathroom renovations, few tasks are as pivotal as replacing a shower screen. Whether you’re upgrading for aesthetic appeal, functionality, or both, one crucial step often overlooked is accurate measurement. Getting this step right ensures a seamless replacement process and a perfectly fitted shower screen. In this comprehensive guide, we’ll delve into the intricate process of measuring for a new shower screen replacement, covering everything from tools needed to potential pitfalls to avoid.
Understanding the Importance of Accurate Measurement
Before diving into the practicalities, let’s emphasise why precise measurement is paramount. A shower screen isn’t just a decorative element; it serves a functional purpose, preventing water from splashing onto the bathroom floor and ensuring a contained bathing area. Incorrect measurements can lead to ill-fitting screens, compromising both aesthetics and functionality. Moreover, it can result in costly rework and delays in your renovation project. Thus, investing time and effort in accurate measurement upfront saves you from headaches down the line.
Essential Tools for the Job
Before embarking on your measurement journey, gather the necessary tools. These typically include a measuring tape, level, pencil, notepad, and possibly a digital calliper for precise measurements. Ensure these tools are in good condition, as accuracy hinges on their reliability.
Assessing the Existing Setup:
Begin by examining your current shower screen setup. Note its dimensions, style, and any features you wish to retain or modify. This initial assessment provides a baseline for your replacement project.
Determining Screen Type:
Next, decide on the type of shower screen you want – framed, semi-frameless, or frameless. Each has its unique measurement considerations, such as frame width and glass thickness.
Measuring Width and Height:
Using your measuring tape, measure the width and height of the shower opening at multiple points – top, middle, and bottom. Record these measurements accurately, as irregularities may exist due to wall imperfections or uneven flooring.
Checking for Squareness:
Ensure the shower opening is square by measuring diagonally from one corner to the opposite corner. If the measurements match, the opening is square; if not, adjustments may be needed to ensure a proper fit.
Accounting for Tolerances:
Factor in tolerances for installation gaps and adjustments. It’s advisable to add a small buffer to your measurements to accommodate variations and ensure a snug fit during installation.
Considering Hardware Placement:
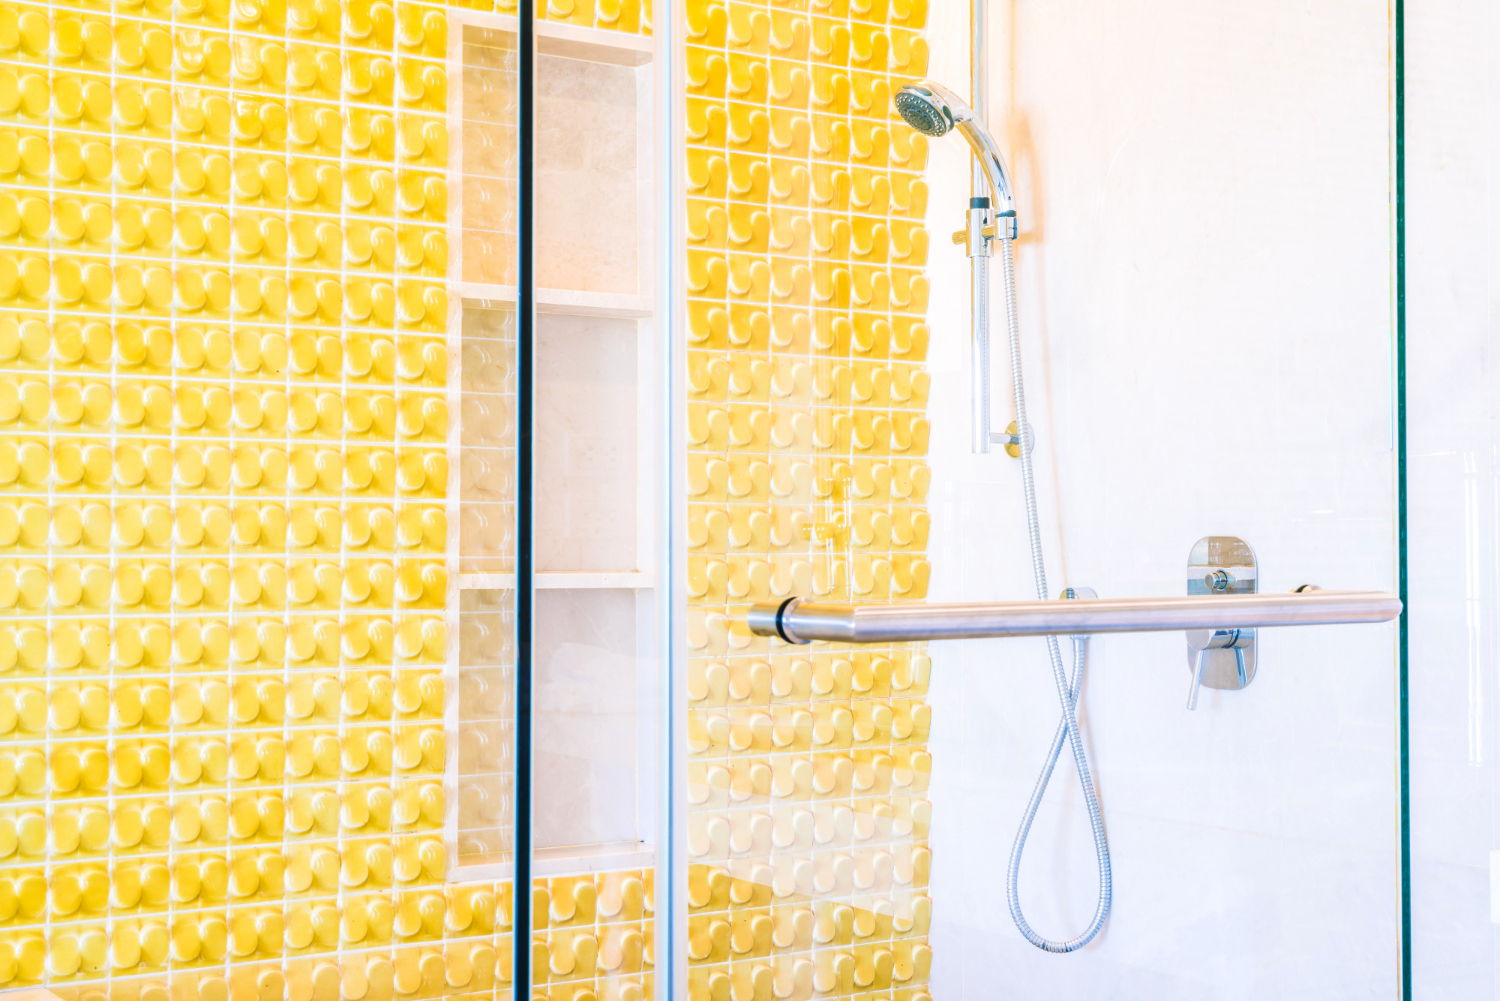
If opting for a framed or semi-frameless shower screen, take note of where hinges, handles, and other hardware will be placed. These elements impact both the dimensions and functionality of the screen.
Assessing Wall Conditions: Evaluate the condition of the walls surrounding the shower area. Any unevenness or protrusions could affect the installation of the new screen, necessitating adjustments or modifications.
Consulting Manufacturer Guidelines:
Refer to the manufacturer’s guidelines for specific measurement instructions tailored to your chosen shower screen model. Following these recommendations ensures compatibility and warranty compliance.
Common Pitfalls to Avoid
Underestimating Space Requirements: Failing to account for clearance space or hardware protrusions can lead to a cramped or dysfunctional shower enclosure.
Ignoring Structural Considerations: Neglecting to assess the structural integrity of walls and floors may result in instability or failure of the installed screen.
Skipping Professional Consultation: When in doubt, seek guidance from professionals or experienced renovators. They can offer valuable insights and ensure a successful outcome.
Exploring Different Shower Screen Types
Before delving deeper into the measurement process, it’s essential to understand the various types of shower screens available on the market. Each type offers distinct advantages and considerations when it comes to measurement and installation.
Framed Shower Screens:
These are the traditional choice, featuring a frame that surrounds the entire glass panel. The frame provides structural support and can hide unsightly edges. When measuring for a framed screen, account for the width of the frame, as it will affect the overall dimensions of the enclosure.
Semi-Frameless Shower Screens:
Semi-frameless screens combine the sleekness of frameless designs with the structural support of framed screens. They typically feature minimal framing around the perimeter of the glass, with exposed edges for a modern aesthetic. When measuring for a semi-frameless screen, consider the width of the framing and any hardware that will be attached.
Frameless Shower Screens:
Frameless shower screens are characterised by their minimalist design, with no framing around the glass panels. This creates a seamless, open look that enhances the feeling of space in the bathroom. When measuring for a frameless screen, precise measurements are crucial, as there is no margin for error when fitting the glass panels together.
Each type of shower screen requires careful consideration during the measurement process to ensure a perfect fit and optimal functionality.
Advanced Measurement Techniques
While basic measurement techniques suffice for most shower screen replacements, certain scenarios may require more advanced approaches to ensure accuracy. Here are some techniques to consider:
3D Scanning:
For complex shower designs or custom installations, 3D scanning technology can provide highly accurate measurements of the existing space. These measurements can then be used to create custom-fit shower screens that seamlessly integrate into the bathroom environment.
Digital Templating:
Digital templating involves creating a digital template of the shower area using specialized software. This allows for precise measurements and can help identify potential issues before installation begins.
Laser Measurement:
Laser measurement devices offer precise measurements over long distances, making them ideal for large or irregularly shaped shower spaces. Laser measurements can help ensure that all dimensions are accurately captured, minimising the risk of errors during installation.
Considerations for Custom Shower Screens
In some cases, off-the-shelf shower screens may not fit the exact dimensions of your shower space. In such instances, custom shower screens offer a tailored solution that perfectly matches your requirements. When measuring for a custom shower screen, consider the following:
Detailed Measurements:
Provide detailed measurements of the shower space, including width, height, and any irregularities or obstacles that may affect installation.
Material Selection:
Choose the appropriate glass thickness and type for your custom shower screen, taking into account factors such as safety, durability, and aesthetic preferences.
Hardware Options: Select hardware options that complement the design of your bathroom and ensure smooth operation of the shower screen. This includes hinges, handles, and towel bars, among others.
Finalising the Measurements
Once you’ve completed the measurement process, it’s essential to review your measurements carefully before proceeding with the shower screen replacement sydney. Double-check all dimensions and calculations to ensure accuracy, and compare them against the specifications provided by the manufacturer or installer. If you’re uncertain about any aspect of the measurements, don’t hesitate to seek guidance from a professional installer or contractor. Remember, accurate measurements are the foundation of a successful shower screen replacement, so it’s worth taking the time to get them right.
Measuring for a new shower screen replacement requires careful planning, attention to detail, and the right tools and techniques. By understanding the different types of shower screens available, exploring advanced measurement methods, and considering custom options when necessary, you can ensure a seamless and successful replacement process. Remember to take your time, double-check your measurements, and seek professional assistance if needed. With proper preparation and precision, you can achieve a beautiful and functional shower enclosure that enhances your bathroom space for years to come.