
Installing a gleaming new dishwasher can greatly upgrade your Melbourne home’s convenience and entertaining capabilities. With so many dishwasher options offering whisper-quiet operation, soil sensor technology and genius third racks, discovering the right model for your space is the easy first step. Then comes the true challenge – proper installation. While daunting, a strategic DIY dishwasher installation allows savvy homeowners to save on sky-high handyman rates. Follow this guide for stress-free dishwasher setup.
Choose Your Ideal Location
The optimal dishwasher location promotes ergonomic ease when loading and unloading clean dishware. Most standard dishwashers measure 24 x 24 x 34-36 inches (Width x Depth x Height). Measure your space to verify enough room exists, allowing proper ventilation. Don’t cram the dishwasher too tightly under countertops or tall cabinets. If your desired spot falls short, consider a slim 18-inch wide or countertop model instead.
Inspect Electrical and Plumbing Needs
Basic dishwasher hookups require:
- 120-volt electrical supply
- Water supply line (copper, braided stainless steel or nylon/vinyl tubing)
- Drain hose (typically 5/8-inch to 3/4-inch diameter)
- Shut-off valve
Air gap (if required by local regulations)
Inspect your installation area and use necessary extension cords, tubes or hoses if the hookup access points fall slightly beyond standard reach. Dishwashers utilize standard household electrical current and attach via simple plug-in or hardwire connections.
Adjust Toekick Specifications
The recessed base under the dishwasher door that meets the flooring is called a toekick. Standard size is 2-3/4 inches tall by 1 inch deep. Adjust if necessary by disconnecting the toekick, marking cut lines per dimensions, cutting with a saw, then reattaching tightly. Custom sizing prevents a gap between the dishwasher edge and floor.
Ready the Work Area
Clear ample space to work comfortably. Cover nearby surfaces with a protective layer like cardboard or drop cloths. The installation area may get messy and requires laying on your back at times, so ensure raised, cushioned flooring like blankets or towels. Gather all necessary tools including pliers, wrenches, screwdrivers, level, flashlight and protective eyewear.
Adjust Height and Level
The dishwasher must sit perfectly flush and level on the floor. To check, open the door and place a spirit level inside on the tub bottom. If uneven, rotate the dishwasher’s adjustable feet under the kickplate clockwise to raise and counter-clockwise to lower until properly leveled.
Connect Water Supply Lines
Locate the 120°F recommended hot water supply line under the sink or install a new access point if unavailable. Cut necessary length of water tube. Attach one end to the dishwasher inlet port and use compression sleeve/insert to connect opposite end to supply line. Tighten gently. For areas with hard water, install an in-line water softener to protect internal components from mineral buildup.
Install Drain Hose
If allowed in Melbourne regulations, a simple high drain loop directly into the sink drainage offers an accessible drain route. Mark and drill access in cabinet wall if needed. Alternatively, fixed air gaps route water separately to prevent backflow contamination. Connect the drain hose leading from the dishwasher, secure tightly, ensure a consistent downward slope for drainage and confirm no kinks inhibit water flow.
Link Up Electrical Supply
Check the power cable from back of dishwasher to ensure copper leads remain fully sheathed and approve electrical connectivity method – either plug or hardwire junction. For plug-in, simply insert into nearby outlet under sink if voltage and amperage match dishwasher requirements. For hardwire, disconnect power, expose cable leads, connect appropriately-gauged wires leading back to the household circuit using wire nuts and resecure the electrical box cover.
Test Operational Cycle
With all hoses and wires fully connected, run a quick cycle to confirm proper fill, drain and electrical performance. Verify smooth mechanical sound only with no leaks, puddles or electrical concerns. Abort cycle once operational capability is proven if connections remain unfinished.
Secure Dishwasher Into Cabinetry
If your desired cabinet location included an old dishwasher now removed, the existing brackets and utility hookups should align correctly to simplify dishwasher installation in Melbourne of the new upgraded model. Ensure the height matches surrounding cabinetry, then connect back side of the dishwasher to brackets laterally installed on the cavity walls.
Affix Decorative Facing Panel
For built-in style, cut a custom facing panel from cabinet-grade lumber matching existing kitchen finishes to conceal dishwasher sides. Secure tightly to lip of dishwasher door with screws to deliver an integrated appearance.
Prepare Your Kitchen for Installation
Success begins with rich preparation – fully ready your kitchen for seamless dishwasher installation. Clear your calendar for unrushed work time. Stock up on essential installation tools including safety glasses, cordless drill, assorted screwdrivers, wrenches, pliers, level, titanium drill bits and shop vacuum. Read your new dishwasher manual thoroughly to pre-learn all hookup protocols before wrenching to avoid mistakes. Print diagrams of under-sink plumbing and electrical access points to simplify customizing to your unique space. And protect – use heavy dropcloths and thick blankets to shield existing finishes from errant drips or scuffs which could mar your beautiful new kitchen investment. Staying organized prevents frustrations when installing solo.
Maintain Your Dishwasher for Years of Regular Use
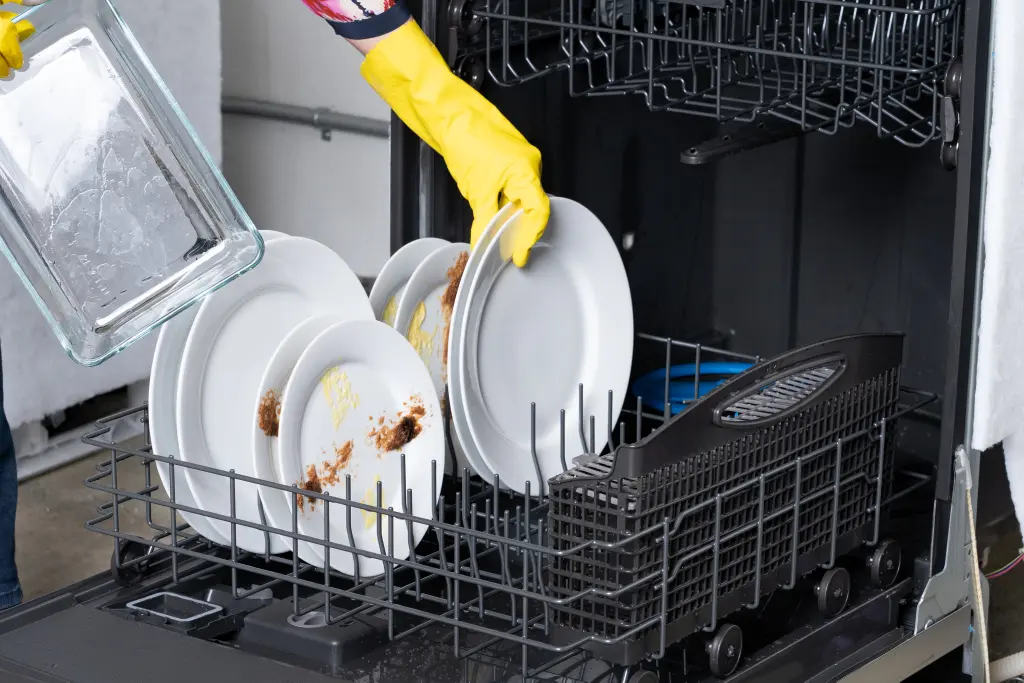
Care for your dishwasher properly and it will continue delivering sparkling clean dishes for over a decade while maintaining its sleek stainless facade. Monthly, inspect the exterior control panel and interior racks for accumulated grime buildup. Wipe down with a microfiber cloth moistened lightly with warm water and mild soap if needed. Check spray arm clearance and remove debris clogging the wash arm rotation or blocking the drain filter intake. Use citric acid dishwasher cleaner monthly to remove mineral scaling and soap buildup which could lead to poor performance. And always promptly wipe up spills and leaks on the kitchen flooring in front of your dishwasher to protect water damage to surrounding cabinetry. Your dishwasher is a substantial investment – with regular care it will provide reliable service for your family gatherings for years to come.
Complete Final Connections
Finish by firmly hand tightening the drain, water and electrical connections leading into the dishwasher cavity space. Bind wires safely away from moving parts with zip ties. Insulate and seal side openings with weather stripping if accessible by hands. Replace insulation blankets or the decorative toe-kick panel.
With some precise measurement, strategic drilling and robust wrenching, even amateur DIYers can transform a kitchen by installing today’s premier dishwasher models to handle messy pots and stacks of serving platters easily. Then kick back to admire your workmanship while the new stainless steel wonder quietly washes the remnants of your celebratory job-well-done dinner.