
When you begin to delve into the world of photography, the first thing that comes to mind is that working with quality and professional equipment leads to success. But a good camera or a good lens doesn’t necessarily produce great results. In addition to good equipment, it will be necessary to know in depth its characteristics and possibilities, as well as the composition of an image, the pillars of exposure and other concepts already discussed on the blog. As we have said, it is not always easy to obtain the desired result and even less to obtain the expected sharpness.
With these tips for using autofocus, not only will you enjoy sharp shots, but it will also revolutionize the way you use your camera.
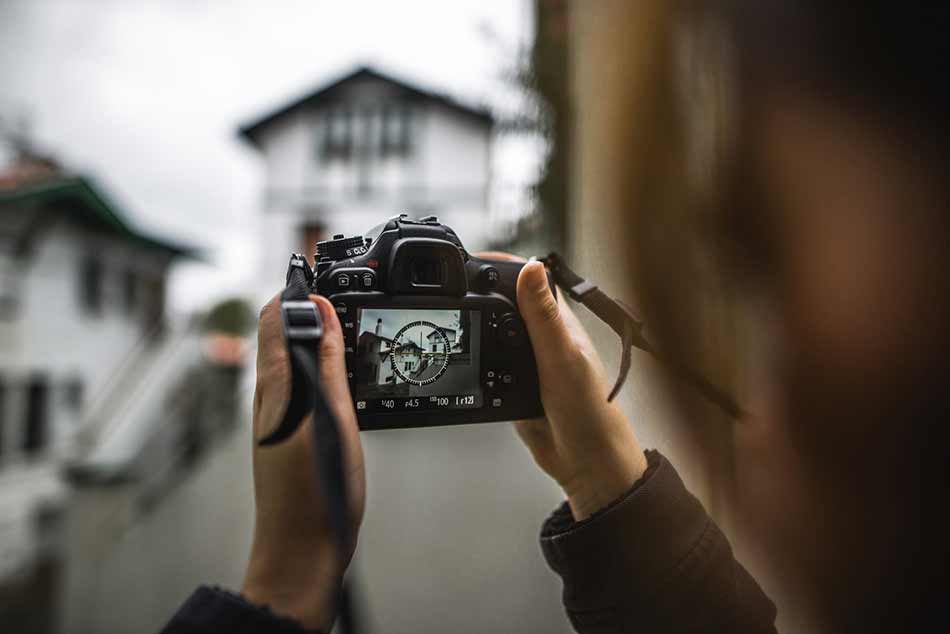
1. Consider Focus Points
We explained to you in a previous post the best tips for taking very clear photos. AF areas are small dots located on your camera’s viewfinder or LCD screen, depending on the model and brand. AF points help you know where the camera is focusing, so you can direct the precise area where you want to focus the image’s interest.
The more focus points your camera has, the more likely you are to get sharp photos or sharpen a specific part of the scene. But the number of focus points in your camera isn’t the only important thing. Their quality will be just as essential to take sharp photos. There are horizontal and vertical focus points that take only one of the two dimensions into account, and cross-type ones that use two dimensions to focus.
Modes of working with focus points
There are four working modes of the AF points, with which you can select yourself the zone of your choice on which you want to focus: Simple Point, Dynamic Area, Auto Area and 3D Tracking.
Automatic or manual stitch selection
When using autofocus, your camera allows you to use two focus point modes: manual and automatic. In automatic mode, your camera will select the most important part of the scene and therefore focus on it. This is the fastest way to work, but your camera may make mistakes, so the part of the image you were most concerned about may appear blurry. With the manual mode, you will be the one who decides the precise area of the image that will be sharp, through the control dial, for greater precision in the image. Check for more info here.
3D Tracking mode
Imagine that you are taking a picture of a person, you want it to be clear but this person is moving. Here you will have to use the 3D tracking option. It will be equally useful for practicing bird, wildlife and sports photography as it will be nearly impossible to work with a stationary subject.
2. Check that your device has focused correctly
To know which focus points will be taken into account before taking a photo, you just have to press the shutter button halfway and as a rule these points will light up in red or green, so the photographer knows clear where the sharp area will appear in the photo in question. Once your camera has focused, you can then press the shutter button to finally take your photo.
3. Use the right autofocus
Continuous autofocus
As we have already seen in a previous post on the focus modes to choose according to the photo discipline, continuous autofocus receives the name of AF-C, with the exception of Canon cameras, where it is called Al Servo. This is the ideal working mode for getting sharp photos when working with moving objects.With this autofocus mode, you’ll have to press the shutter button halfway, and it will continuously focus on the moving subject. Select the appropriate point before shooting and keep it on the subject while looking through the sensor. Then fully press the shutter button to take the picture.
Audible focus warning
We have talked a lot about this function that most cameras include, which can emit a beep that tells us that the focus has been made on the chosen point. This is ideal for working on portraits, for example, since you can continue to pay attention to the subject in question and their features. The use of sound warnings to obtain very clear photos will therefore depend on the photo discipline on which you will be working.
Single autofocus
This focusing mode help take very sharp photos of static objects or subjects, such as a portrait photo or a photo of an object.When you press the shutter button halfway and the camera has focused on the area of your choice, the focus will be locked on the same point, until the signal appears Red.
Auto-AF mode
This mode works exactly the same way but automatically switches from single AF to continuous AF depending on what the camera interprets. In my opinion, you should never use it, except for very complex situations, with unpredictable movements of children or pets, for example. In other cases, it is better to think about it for a second and switch to an adequate type of focus.